Media Buying Strategy: The Beginner’s Guide
Last updated on August 23, 2018 13 min readYou are currently in the "Media Buying" - Learning paths

Media Buying Strategy: The Beginner’s Guide
13 min read

4 Tips for Media Buying Beginners
3 min read

Media Buying 101: What is Real-Time Bidding?
10 min read

How to Create a Killer Media Buying Budget Strategy
9 min read

The 10 Main Media Buying Tips to Skyrocket Your Campaigns
12 min read
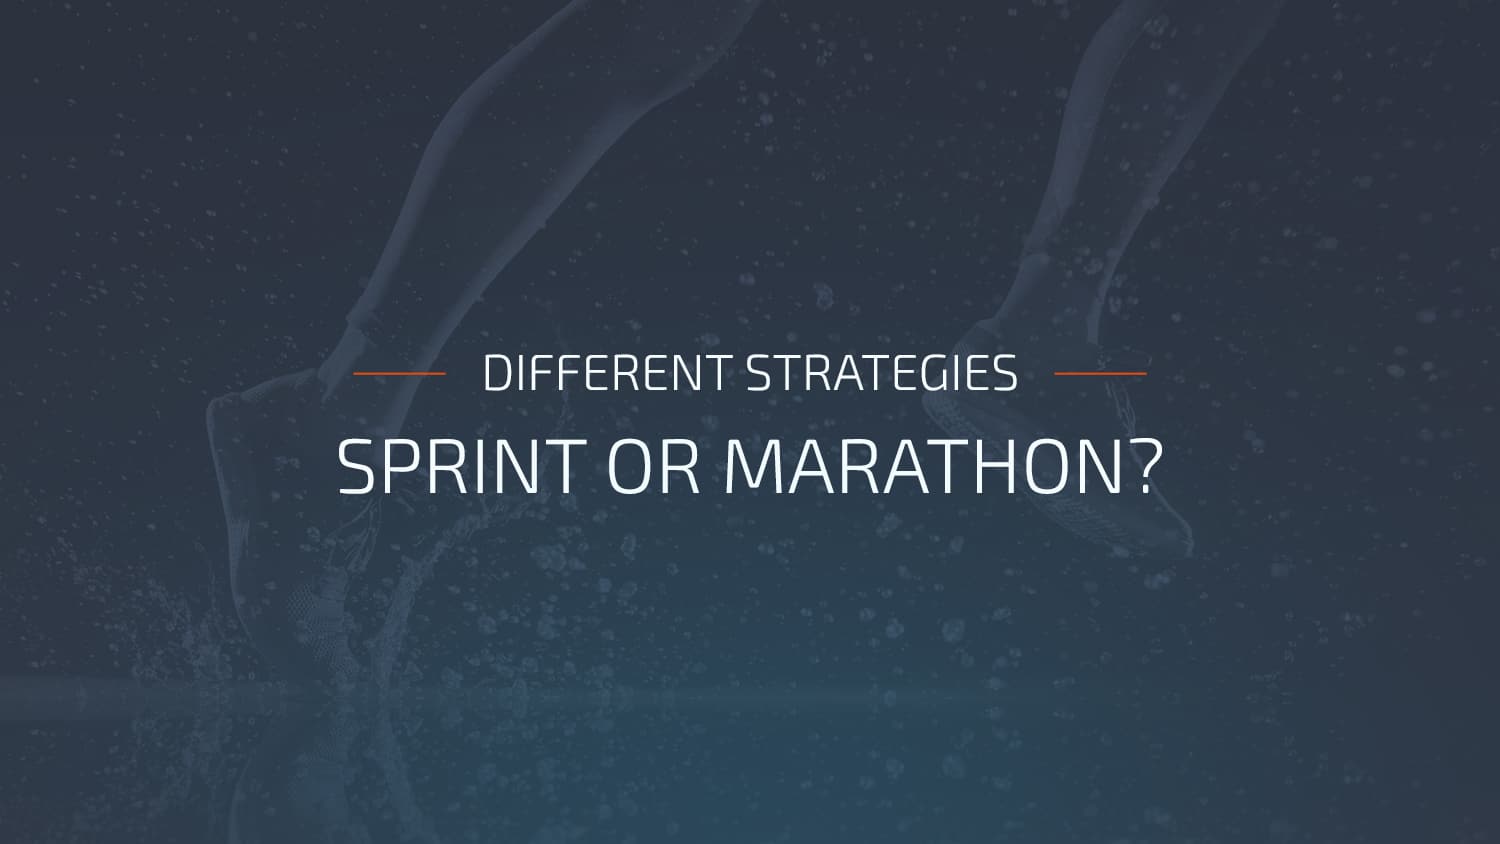
Bidding Strategies in Media Buying: Sprint or Marathon?
6 min read

Media Buying 101: What is Header Bidding & How Does It Work?
6 min read
5 Aspects About CTR You Should Know for CPM Campaigns
4 min read

Introduction
Today, we’re happy to guide you through the exciting journey of starting your first media buying campaigns.
Don’t worry!
We know you need to organize a lot of stuff but us Eastern European Affiliate Marketing Masters are here to help you figure out your media buying strategy with class!
That’s why we’ve prepared a step-by-step strategy for you.
It’ll help you make money in media buying so let’s go!
Project Explained
We want you to check 4 main stages which every single successful campaign has to go through.
This is a crucial part of any media buying strategy so pay attention!

There’s nothing fancy or hyper difficult to grasp about it: it’s the media buying basics that’ll help you launch, run, optimize and become profitable with your campaign as a media buying beginner!
We want you to focus on these 4 big milestones – 4 events you’ll have to face on your way to success as a cool media buyer.
Check this to see what’s gonna come your way!
Table of Contents – Media Buying Strategy
- Preparation Stage
- Campaign Creation
- Optimization
- Scale
As for Scale, you know it’s Mount Everest!
It’s the top of the world.
Scaling up is only possible once your campaign becomes a fluid and constant stream of riveting revenue.
If your campaign doesn’t give that sweetly stable revenue with a solid ROI, you’ll still have to wait before getting to this awesome level!
What?
You already have some good money coming straight outta your campaign?
Don’t wanna let it become an empty effort and wanna monetize to the max?
Then go ahead and dive into this part!
This is where you’ll be able to understand how to get all that fresh juice which means it’s where you learn one of the most important media buying strategies of all time!
What?
Wanna start from the beginning?
Then go for number one, read up, and become a super cool strategist!
1. Preparation Stage
Let’s start with the first stage you’re gonna face.
It’s basically media buying 101: Preparation.
This is where we’ll analyze all the steps that you should go through before launching your media buying campaign.
Don’t be scared!
We’ll show you how to get organized so that the amount of work you’ll have to experience before creating a campaign on an ad network gets reduced.
Step 1 – Choose the Winning Offer
Vertical
Here’s the first question you need to find answers for in order to get started with your media buying strategy: which verticals do you feel comfortable working with?
We don’t wanna limit you by bullying you into making a quick choice between Adult and Mainstream offers (two media buying terms you should get to know ASAP!)
Even so, this is the kind of decision that’ll determine all future steps (ad networks, GEOs, pre-landers, etc.)
It’s important for you to be able to focus on certain details before picking which vertical you wanna go for.
The Adult vertical has fewer sub-categories (videos, dating, games, etc.) and allows you to use similar creatives throughout.
On the other hand, the Mainstream vertical will demand constant analytical focus from you, since you must bear each element of your future campaign in mind.
You must think about banners/pre-landers, ad formats, ad networks, etc.
As far as category is concerned, you must decide whether to go for nutra, sweeps, antivirus, dating, games, videos, finance, etc.)
Yep! You got us!
There are a whole lotta details which can impact your Mainstream campaigns – many more than the ones you’ll need to pay attention to when it comes to playing with the Adult side of the game!
The decision is yours, though.
Offers
Once you pick a vertical, you’re getting closer to getting those golden offers running.
Yep! No misspell, here!
Offers in plural.
Don’t stop with only one offer and also don’t go nuts, picking 20 offers like a crazy person.
3/4 offers from the same category are enough for you to understand the game and see how you feel about your monetization chances!
In fact, 3/4 offers allow you to test and also to replace one with another in the event something unexpected happens to one of your offers.

Picking offers in the same category makes your life easier.
In fact, you won’t need to suddenly run from one ad network to another or radically change your pre-landers if obstacles force you to test a similar offer.
If you’re having trouble with this step, there’s no need to run!
Just contact Mobidea’s Support Squad and ask for the best offers in your category.
Why? Because our Support Squad will always share the top offers and make sure you don’t pick a rotten offer that can ruin your chances from the get go.
Moreover, you can take advantage of something real special on Mobidea; something which allows you to cherish the Adult Category even more: the Smartlink.
This is a link which constantly rotates different offers and shows the best-performing ones to your users based on their segments – Country/OS/Operator.
Sounds like someone already did part of your job and selected only the best offers for you!
You got it!
It’s exactly like that so go ahead and read about it before giving the Smartlink a cool try!
Learn More: Algorithm VS Single Offers – “Man Against the Machine”
You can also promote a Mainstream Smartlink (and get great results).
Once again, we have to make sure you understand that Adult offers are less diverse and that one LP can work as well for Video or Games.
Related Content: Adult Niche: The Gold Mine in Affiliate Marketing
Adult offers are indeed super useful, especially when you don’t know which particular offer is gonna be shown to your user.
GEO
If you think your girlfriend and you are the best couple in the world, sorry to disappoint you but… nope.
The best match happens when your offer meets GEOs for which it’s available.
Please take it serious!
Trust us: based on the GEO + offer category, you’re gonna search for the ad network which has decent traffic and the desirable ad format you’re looking for.
Why is the GEO so important? Because you don’t wanna spend your whole budget testing an offer for Switzerland on your first day, right?

When you’re testing offers and have a limited budget, you wanna see results and get data to optimize as fast as possible.
Will it be possible to do that with offers from Tier 1 countries? Probably not.
In fact, when you’re a simple newbie, the best option for you to reach the optimization stage of your campaign and chase real profit is to work with Tier 2 or Tier 3 countries.
Why? Because those countries generally have cheaper traffic and big volumes.
If you lose money, at least you won’t lose half your budget just testing Australian or UK offers.
Make sure you’re focused and dive into LATAM countries such as Brazil, Mexico, Colombia and Argentina, for example.
Learn More: Quick Tip: How I Cash In On Obscure GEOs and Low-Volume Placements
Step 2 – Pick Your Ad Network/DSP
You’ve got a cool media buying plan, don’t you?
In fact, you have a list of the best offers to test, you understand the specificities of the category you’ll work with, you’re focused on certain GEOs, etc.
You’ve basically got a set of values that’ll help you choose an ad network to get things rolling.
There’s no secret: there are hundreds of ad networks where you can buy traffic.
Important note: understand that certain offers work better with some type of ad format, and that certain GEOs have a larger presence in some ad networks than others.
It’s a tough decision you’ve gotta make, since there’s such a diverse array of networks out there.
No worries, though!
We’re here to help you out.
Make sure you do these things before picking your ad network:
- Ask your Account Manager or the Support Squad for advice
- Check our Updated Overviews of several ad networks right here!
- Read some articles about Mainstream ad networks! You can check our Adcash Review or our PopAds Review!
Step 3 – Decide Your Campaign’s Ad Format
You’ve done all the necessary preparations so it’s time to start making money!
Now, you need to decide with which ad format you’re planning to work with.
First, you need to be prepared, since ad formats are tricky media buying terms and vary according to each network.
Indeed, some are focused on pop traffic, while others have plenty of quality banner traffic in different ad formats, such as 300 x 250, 300 x 100, instant message and in-video.
Therefore, you need to check the volumes available per spot and the average competitiveness of the spot.
The choice of a specific spot should also be based on the type of offer you’re promoting.
For example – if you opt for promoting sweepstakes – the right thing to focus on would be pop traffic!
However, it’s more common for games offers to perform on banner traffic.
Step 4 – Prepare the Creatives
Creating banners and pre-landers is tough.
However, it’s a super important task, since your banners and pre-landers will yield amazing influence when it comes to CTR and those tasty conversions.
A good pre-landing page should engage the user, be related to the offer, and have a professional appearance matching the design of both the banner and offer.

Test around 2/3 banners in combinations with 2/3 pre-landers to see which flow works best.
There are several ad spy tools available such as AdPlexity, AdPlexity Adult (25% Lifetime Discount) and WhatRunsWhere (25% Lifetime Discount).
These will help you check what your competition is using.
Get inspired by the ideas and be creative while redesigning!
Plus: make sure to study the user you’re targeting, as you need to approach the users in their native language and provide a message which is suitable to their culture and country.
Wanna know how to be the pre-lander king?
Learn More: Pre-Landing Pages: Main Web Concepts Explained
2. Campaign Creation
Step 1 – Set the Campaign Up (Choose your Bidding Strategy, Targeting, Creatives)
You’ve already selected the ad format you’ll be focused on.
Now’s the time to choose the other important settings, such as your bid, targeting options, and upload the banners or pre-landers you’ve already created.
How to set your bid?
It depends on the model in which you’re buying traffic (such as CPM or CPC, for example).
Note: if your ad network offers you the possibility to work with SmartCPM, go for it!
Don’t know what it is?
On ExoClick, it basically means your bid will be 10% higher than the bid of your next competitor.
By doing this, you guarantee your position at the lowest possible cost.
Therefore, this “trick” should really be part of your media buying plan!
Related Content: ExoClick – How to Effectively Use the SmartCPM Tool
It’s important to mention that the bid value will depend on the targeted country, the ad format and your strategy.
While setting the bid amount, some affiliates prefer to get fast results by selecting the narrow target and bidding high.
On the other hand, other players focus on getting big amounts of data.
This means they’ve got a wide target with a lower bid value.
Study the definitions of different strategies and take your pick!
Learn More: Different Strategies – Sprint or Marathon?
Regarding targeting: be sure to select all parameters according to your offer, such as language, operating systems, mobile carriers.
Got any doubts?
Ask your account manager for advice about what performs best!
At this stage, you’ll also be taking care of the creatives you’ve already prepared.
You can upload your banners straight on your ad network.
In case you wanna use pre-landers, you’ll need to get a tracking solution: there are plenty of options, such as Voluum, FunnelFlux, or AdsBridge.
Setting the capping (the number of times the ad will be shown to the same user in a set period of time) is also crucial.
If you’re creating a new campaign and have no info about your position, we advise you to start your campaigns with a capping of 1/24.
Then, analyze the performance.
Moreover, at this stage, you can set the daily budget.
Start with a low budget so that you don’t spend all your money at once.
Even so, set your budget wisely: if it’s too low, your campaign will be running only for a short period of time and you won’t get the data you need.
Remember: data is everything!
3. Optimization Stage
Step 1 – Let Your Campaign Get Data
Wanna hear one of the media buying basics even a toddler knows about?
The optimization stage should begin only when you have a good amount of data.
That’s right – you need to get decent volumes of traffic!
How much time do you need to get these volumes?
It depends on lots of different factors, such as the GEO you’re working with, your position on the ad network, or your bidding strategy.
For instance: running a campaign in a European country and in India are two completely different things and therefore will mean two totally different media buying strategies!
Super cool tip: you may think that you’ve got good volumes of traffic for just one hour.
Even so, be sure to test other time frames, as you may be losing some well-performing hours.
Important: you need to be patient at this stage.
Remember that you’re investing money in the acquisition of crucial data.
This investment is gonna help you do one thing: get that money coming your way much faster!
Step 2 – Define What to Optimize
This step requires you to check the performance for all parameters in detail.
You need to check creatives, websites, operating systems, browsers, devices and others.
In order to understand which parameters you need to optimize, check the payout of the offer you’re running (or average payout, in case you work with a rotator).
The next step will be to compare this value with the effective cost per conversion (eCPA).
Our advice? Look at the highest eCPAs.
Check whether or not it’s double or more than double the payout value of your campaign.
These will be the parameters you can cut.
Important: before optimizing, you should be able to realize that these parameters are all related. For example, iPhones are correlated with iOS and the Safari browser. Bear this in mind while optimizing your campaigns and NEVER cut all the parameters at once.
In fact, you should focus on cutting those which are negatively influencing the campaign! Then, check the results.
Step 3 – Keep Notes of Campaign Changes
You’ve already done the necessary optimizations on your campaign.
What’s next? Monitor the impact of that change.
How is it affecting the volumes of traffic, the costs, the performance?
To be able to check it, remember which changes you’ve made and when.
How? There are lots of ways to track the changes.

Even so, since you’re an affiliate marketing beginner, we’ll focus on the easiest way for you to track: using notepad or Excel!
Keeping track of changes will give you a clear picture of the impact that’s been made.
Feel free to organize your changes per campaign, mentioning the change made and the date!
This really is a media buying strategy that’s simple but super crucial!
Step 4 – Keep Monitoring the Impact of Your Optimization
With the listed changes (see the previous step), it’s much easier for you to see what’s the actual effect of the changes.
You need to be on top of the situation, regularly checking your campaign’s performance.
When you keep track of the changes, it’s much quicker for you to see the impact.
For instance, you need to check the period after the last optimization made and you’ll know when it was straight away!
This will help you create whitelists of well-performing parameters or even Premium campaigns.
Don’t lose the opportunity!
Wanna go for a Whitelist but don’t know how to do it?
Related: Whitelists – Get the Most of Each Website
4. Scale Stage
Step 1 – Increase Volumes
Make sure you have the best offer, that you’ve improved your landing pages to the max, that your ROI is stable and solid enough.
Have it all?
Then just raise a bid by approximately 10% and check how your performance has changed.
This is one of the media buying basics but it’s hard to do!
Let’s see, now…
Are you getting profitable with the increased bid?
Do it again!
Test and see whether or not it gets better.
If you can somehow become able to know your next competitor’s bid, that’s perfect!
Try to overcome that player and then check your results with this new position.
This is a media buying strategy to beat them all!
Remember that Media Buying is a game where you’ve gotta be able to set the correct bid for your performance: find the right balance!
Imagine you’ve already increased your bid and you’re now sitting on the first position.
Your campaign is profitable!
Sounds great, right?
Do you wanna get even more traffic? The suggestion we have for you is increasing the capping.
Increasing capping is like Media Buying 101!

Everyone knows it’s awesome and will ultimately help you increase your earnings!
By doing this, you’ll not only get the first impression of the user, but the second, third, and so forth (according to your choice).
Remember: increasing the capping may decrease the average quality of your traffic!
Step 2 – Get More Ad Placements
Check if you can increase your campaign’s presence by chasing more available ad spots.
Step 3 – Expand Your GEOs
If you’re running a multi-GEO offer and are really getting profitable with one of them, try testing another one.
Test one by one, adapting your landing page to the language of the country/other cultural aspects.
Check for the similar offer available for other GEOs
Maybe there’s another ‘twin’ offer for a different GEO that you can take advantage of by following the same logical reasoning you used to rock your profitable campaign.
Step 4 – Move to Another Traffic Source
There’s always a limit to the traffic volume of any GEO.
If you feel that you can squeeze more juice out of your offer and really need more traffic, you shouldn’t be scared: move to another ad network that has similar ad formats and try to run offers there.
Conclusion
That’s it!
We hope that you now feel more organized and confident in what you’re doing with your campaigns.
We were happy to share this media buying strategy with you.
Now, it’s your time to show us how great you can be as an awesome newbie!
We wish you good luck on creating an amazing media buying plan to rule the affiliate marketing world!
See Also:
- How to Use Targeting in a Media Buying Campaign
- The 10 Main Media Buying Tips to Skyrocket Your Campaigns
- How to Become a Successful Media Buyer
- 4 Tips for Media Buying Beginners