You are currently in the "Beginner" - Learning paths
How to Create a Campaign on Mobidea
4 Profitable Traffic Types to Run with Mobidea Offers
6 min read
How to Use Targeting in a Media Buying Campaign
10 min read
Frequency Capping: Everything You Should Know
4 min read
Whitelists: Get the Most of Each Website
5 min read
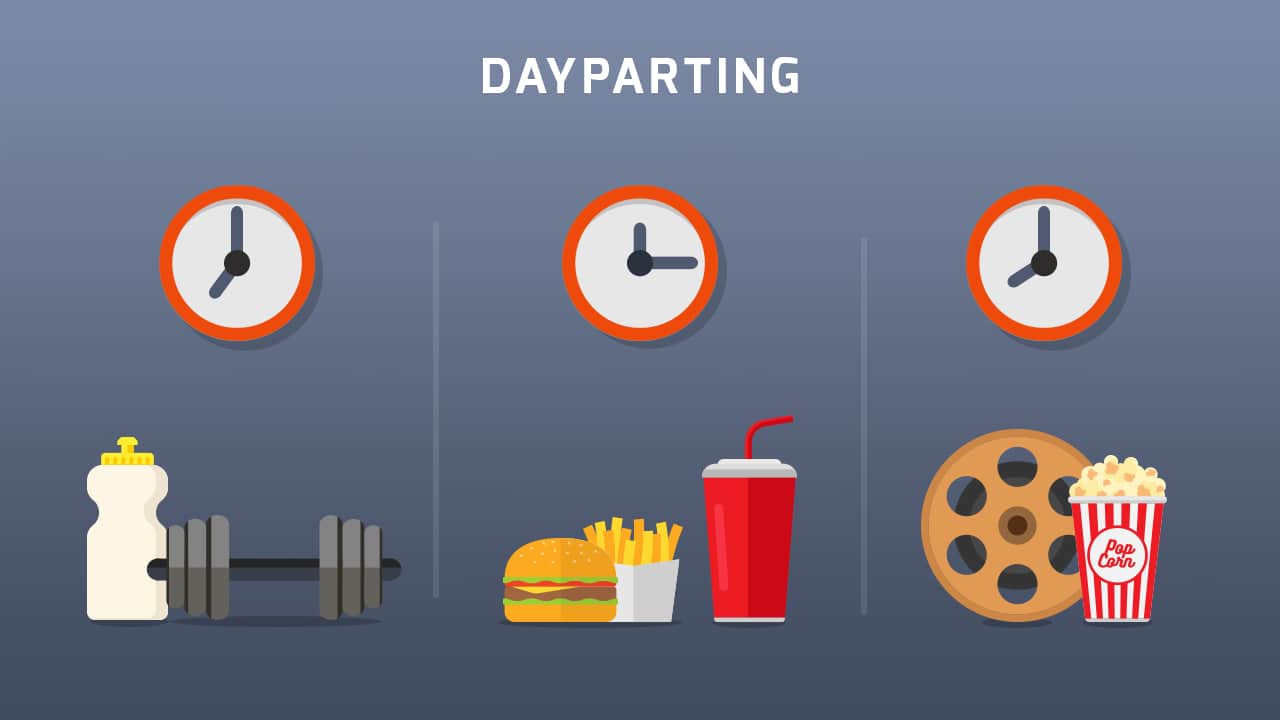
Dayparting: A Way To Boost Your Revenue
3 min read

6 Affiliate Marketing Metrics You Should Track
5 min read
How to Create a Killer Media Buying Budget Strategy
9 min read

Hi!
My name is Rodrigo.
I’m an account manager at Mobidea.
Today, I’m gonna show you all you need to know about Campaign Creation using Mobidea’s Tracker.
First, go to Stats & Tracker.
By default, you’ll have the statistics from all your current traffic by day.
To create a new campaign, click on Campaign and access + New Campaign.
On the right side of your screen, a new window appears.
Guess what?
We are now inside the tracker!
Here you have to:
Set the name of your Campaign (Campaign Name: Mainstream)
Choose your Tracking Domain, which should be already implemented. Got any doubts about how to implement your domains? Go to the Mobidea Academy. Then, click on LEARN THE PLATFORM. There, check the video “Understanding the Settings Page”. I guarantee you will learn everything you need!
Set the Traffic Source and configure the token for that source. In this case, we have the Goal ID. These tokens will work as your postback, so you can see your signups in the selected traffic source. If you prefer, you can always create a custom traffic source
You also can choose from two different Cost Models (CPC or CPM), and insert an estimated cost per visit.
You can have your campaigns running on Euros or USD.
Remember: this cost will remain fixed, unless you update it according to what you are getting on the traffic source.
As for basic settings, you are done!
Now, we move on to the Configure Rotation part.
You will notice that another window pops.
Here, you name the Rotation according to your preference. (Europe – MS – Mobile Content).
Later on, this rotation will be saved, allowing you to use the same rotation for another campaign.
The First Rule you set is the default one.
This means that – in case the other rules you create do not match the conditions – you won’t lose traffic and you can redirect it to one of our Smartlinks.
This is why I advise you to always put a Smartlink here.
For this default Rule, I will choose direct link and on Offer redirect it to a Mainstream Smartlink.
If I decided to save the campaign right now, all of my clicks would be monetized with this Smartlink I just selected.
On these next steps, I will show you guys how to create specific rules, conditions, and paths for your Landers and Offers.
Click on New Rule
Path 1 opens by default.
If you enter Conditions, all the options to filter and redirect your visits will appear.
Here, you can drive your visits according to the options (show them all)
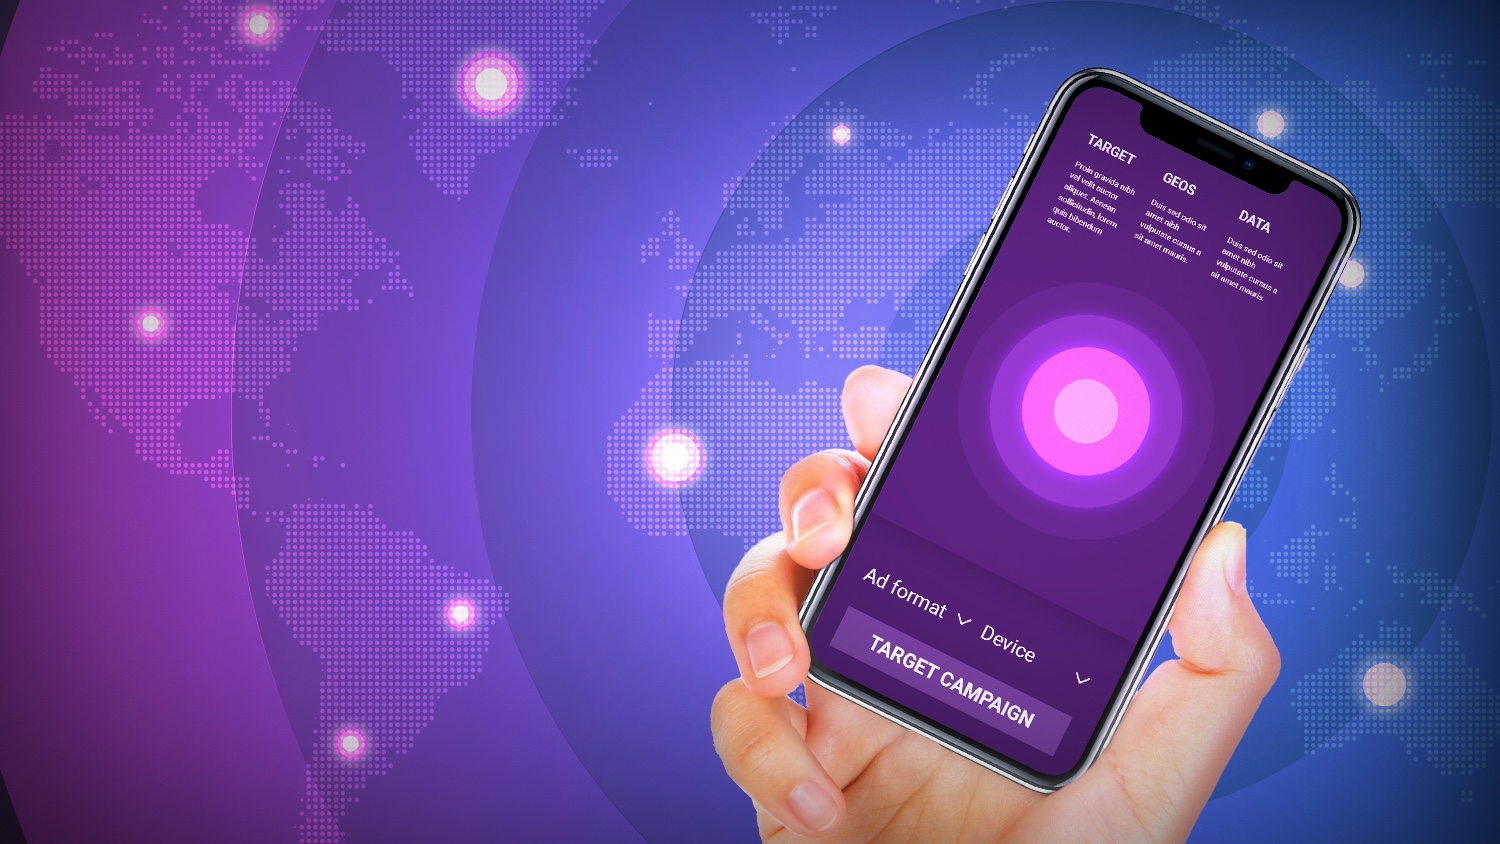
Today, I will be using two of the most used conditions: Country and Mobile Carrier.
Bear in mind that you should select these conditions according to the offer you will be promoting.
On path 1, select Direct Link if you want to redirect users with no lander.
In case you want to use a lander, click on Lander
A new window opens, enabling you to add new landers.
Click on New Lander
Insert the name of the lander, the category, the language and the lander URL.
You also have plenty of tokens available to keep track of your traffic.
Finally, select the number of Calls-to-Action of your lander.
You can find the links you should place on your Call-to-Action buttons by going to your Account Settings and entering the Click URL.
Here you have the option to divide the traffic between Direct and Landers. I will just select one Lander for you to see how. So now the traffic is divided 50-50
Imagine, for instance, that you want to test if the offer works better with a lander or with an automatic redirection to the offer. This is the way to do it.
You can also add several landers, and check the Conversion Rate on each one of them later on, on the Stats.
On the Offer, you can select one of the Smartlinks, as I showed you before.
So you have all of the Smartlinks you’ve created: Adult, mainstream and mainstream CPI, if that’s your case, or you can also select the Single Offers that have been approved by our Support Squad or by your dedicated account manager.
So, as my condition was Spain – Orange, I’m going to select the offer from Spain.
Once again, you can play with the weights and do your A/B tests to find the perfect offer for each segment you are working with. For instance, you can select Mainstream Smartlink and understand what works better for you.
Inside the same rule, you can create more Paths. You go here and another Path is created.
You can also select how much weight you choose to give to each path inside the same rule. As you can see I’m inside the same rule but have different paths.
For each path, you have 3 options on the Type of redirect
You have the 302 Redirect, the Meta Refresh and the Double Meta Refresh.
For all the rules you create, you can duplicate or erase them.
I hope this short video helped you guys know what the tracker is all about!
You can always reach out to your Account Manager or the Support Squad to make the most of it!
Feel free to explore all the features of this tracker.
Remember, increase your performance by analyzing and optimizing your traffic like a master!